Setting Up Float for visionOS
I decided Float is the first of my old iOS ARKit apps I should update for visionOS – however there are tremendous differences between what ARKit "means" in iOS compared to what ARKit "means" in visionOS. Updating Float (or almost any ARKit app, really) for visionOS will require more work than making some visual tweaks, swapping out some UI components, and calling it a day.
iOS ARKit vs. visionOS ARKit
Some of those differences between iOS ARKit and visionOS ARKit stem from the fact that a phone is not a headset; the form factors, sensors, and capabilities found in an iPhone do not match those found in a Vision Pro. One of the most glaring differences is the inability to access the Vision Pro's cameras in visionOS 1.0.
Every iOS ARKit app I've worked on utilizes the same underlying flow:
- Open a camera view
- Recognize objects in that camera view (e.g. surfaces, objects, faces, bodies)
- Make sense of the data from that camera view to augment reality (e.g. visualize an e-commerce product on someone's body pre-purchase)
Every step of that oversimplified process focuses on one thing: the camera. So when visionOS prevents developers from accessing camera frames full stop, ARKit devs may need to rethink how they build ARKit apps. Apple has an entire portion of the documentation dedicated to emphasizing that visionOS ARKit is very different – and they casually gloss over the fact that many iOS ARKit apps will need to be completely rebuilt from the ground up for visionOS.
I'd take that a step further and say that many iOS ARKit apps simply cannot exist on visionOS. There is a laundry list of ARKit features not available in visionOS, including:
- Face tracking
- Body tracking
- Geotracking
- Object detection
- App Clip Code detection
- Video frame post-processing
Over the past 8 years the most popular augmented reality use case has been face lenses, like those powered by Snap's Lens Studio. By eliminating face tracking capabilities from visionOS, Apple is signaling there will be no face lenses, no makeup try-ons, and no real-time face-swapping in visionOS. Or at least: not at launch.
Of the six features not available in visionOS 1.0, I'd guess one of them is due to processing constraints (object detection), two of them are due to UX concerns or internal-developer-resource constraints (App Clip Code detection, video frame post-processing), and the remaining three are due to some combination of caution, privacy concerns, UX concerns, internal-developer-resource constraints, and processing constraints. Even though it may be the most computationally intensive of the missing features, I expect visionOS 2.0 or 3.0 to include object detection.
It's not all bad news, though. Realistically, visionOS bakes into the OS some spatial computing functionalities, such as raycasting and relocalization, which make life significantly easier for developers who cobbled together custom implementations of such functionality for iOS ARKit apps. In many ways, visionOS is a fresh slate that's welcoming for new developers. The visionOS 1.0 SDK is early, stripped down, and limited. I built many iOS products that use different forms of raycasting, relocalization, multiplayer shared experiences, and other spatial computing capabilities. Apple looked at a bunch of common, custom elements built into iOS ARKit apps and said "Here, use these building blocks for visionOS apps instead." I take visionOS's 1.0 release for what it is: an initial release of an evolving new platform for new hardware.
All that brings me to: Float is an iOS ARKit app whose main view is a camera view so the user can view their surroundings and augment their space. Float was built on ARKit 1. Float and ARKit 1 were released in 2017. Float uses ARSCNView and SceneKit in general, neither of which can be used on visionOS. Float relied on camera frames to place objects in space around the user, and visionOS does not provide developers access to cameras. So...Float will need to be completely rebuilt.
But first let's take a step back.
What's the Point of Float Anyway?
First and foremost, Float is an app that enables people to personalize their surroundings. Float also happened to be my introduction to ARKit 1, my introduction to developing spatial computing, and my exploration of what was possible with that first version of ARKit. I wanted to provide a tool that empowers people to transform their surroundings, similar to how people customize their homescreens and desktops. Personalizing a space can take many forms. However, I had to keep it simple since neither people in general nor I had access to a large library of 3D models of furniture, plants, sculptures, animals, people, or whatever other 3D objects people may want to use to decorate their space.
But there is something everyone has: pictures on their phone. Given photos' ability to be placed on a basic 2D plane and everyone's access to photos, I had my focus. People would use Float to place floating, 2D pictures in the 3D space around them – remixing and customizing their space how they see fit.
Float had no relocalization, no segmentation, and no raycasting – some of that may have been possible to build in 2017, but not by me given my newness to the space. And certainly not as quickly nor as easily as it would have been with future ARKit releases that added such functionality in 2018 and beyond.
So what's the point of the forthcoming Float for visionOS? The same as it was back then: personalizing your space. Maybe I'll have different customized spaces saved that I cycle through during the day. In the morning I'll load up a space that plasters my office walls with photos from my trips over the years. In the afternoon I'll swap to a more subdued space that places my favorite pictures of my dogs on my desk. I think there are many additional interesting ways Float for visionOS may be able to personalize spaces, but let's start with placing virtual photos on actual walls. In order for a visionOS app to utilize plane detection to recognize walls around a user to place photos...we'll need ARKit.
Kill All the Old Code With Fire
There are times when developers want to do a rewrite because they don't understand the old code, or because they didn't write the code (which can contribute to not understanding it), or because they like building things. There are other times when the old code is absolute trash, or absolutely obsolete, and it'd be better to start off from scratch. This is one of those "other times."
I took one look at the original Float's CocoaPods, Storyboards, and UIKit views and then immediately started a new project in Xcode 15.1. That may seem hasty, but:
- Transitioning all the views from a mix of UIKit + Storyboards to SwiftUI
- Transitioning SceneKit +
ARSCNViewto RealityKit +RealityView - Extricating any usage of CocoaPods + related code
- Making improvements to certainly suboptimal 6+ year old code
All pointed to starting fresh instead. In reality I'll be building two Float apps from scratch:
- A version of Float that runs on iOS similar to what's been on the App Store for years
- A version of Float that runs on visionOS
Let's get going!
Baby Steps Into visionOS
Given this is vision.engineer, I'll be focusing on the visionOS side. Suffice it to say that I booted up Xcode 15.1, created a new multiplatform app, and then swapped out any references to macOS with xrOS (i.e. the shorthand/codename/prior name/working name for visionOS used throughout Xcode and its SDKs). I then was able to get a SwiftUI proof of concept of the iOS version of the app running in a couple of hours. This is a testament to the evolution of SwiftUI and ARKit over the years. Although it will take significantly more work to replicate all the features of the App Store version of Float utilizing SwiftUI and the latest APIs, the time and the amount of code it took to get this far have both been remarkably reduced.
I spent all this time talking about ARKit in visionOS, expounding on its capabilities and limitations and how I intend to use it. Surely, given Xcode's visionOS simulator includes multiple 3D test environments, I'll be able to test visionOS ARKit features in the simulator...right?
Wrong.
I certainly hope it's coming in some future version of Xcode, but for right now (using Xcode 15.1 Beta 1 and visionOS 1.0 Beta 4) there is no ability to test plane detection, nor scene reconstruction, nor world tracking in the sim. So let's scale back our initial version of visionOS Float even further and just say: Let's build an app with a couple of buttons, one of which places a picture in a floating window.
Here's an initial stab at Float's first xrOS view and what that view looks like.
import SwiftUI

struct ContentView: View {
    var body: some View {
        VStack {
            Text("Add Something")
                .font(.largeTitle)

            Button {

            } label: {
                Label("Photo", systemImage: "trash")
            }
        }
        .transition(.opacity)
    }
}
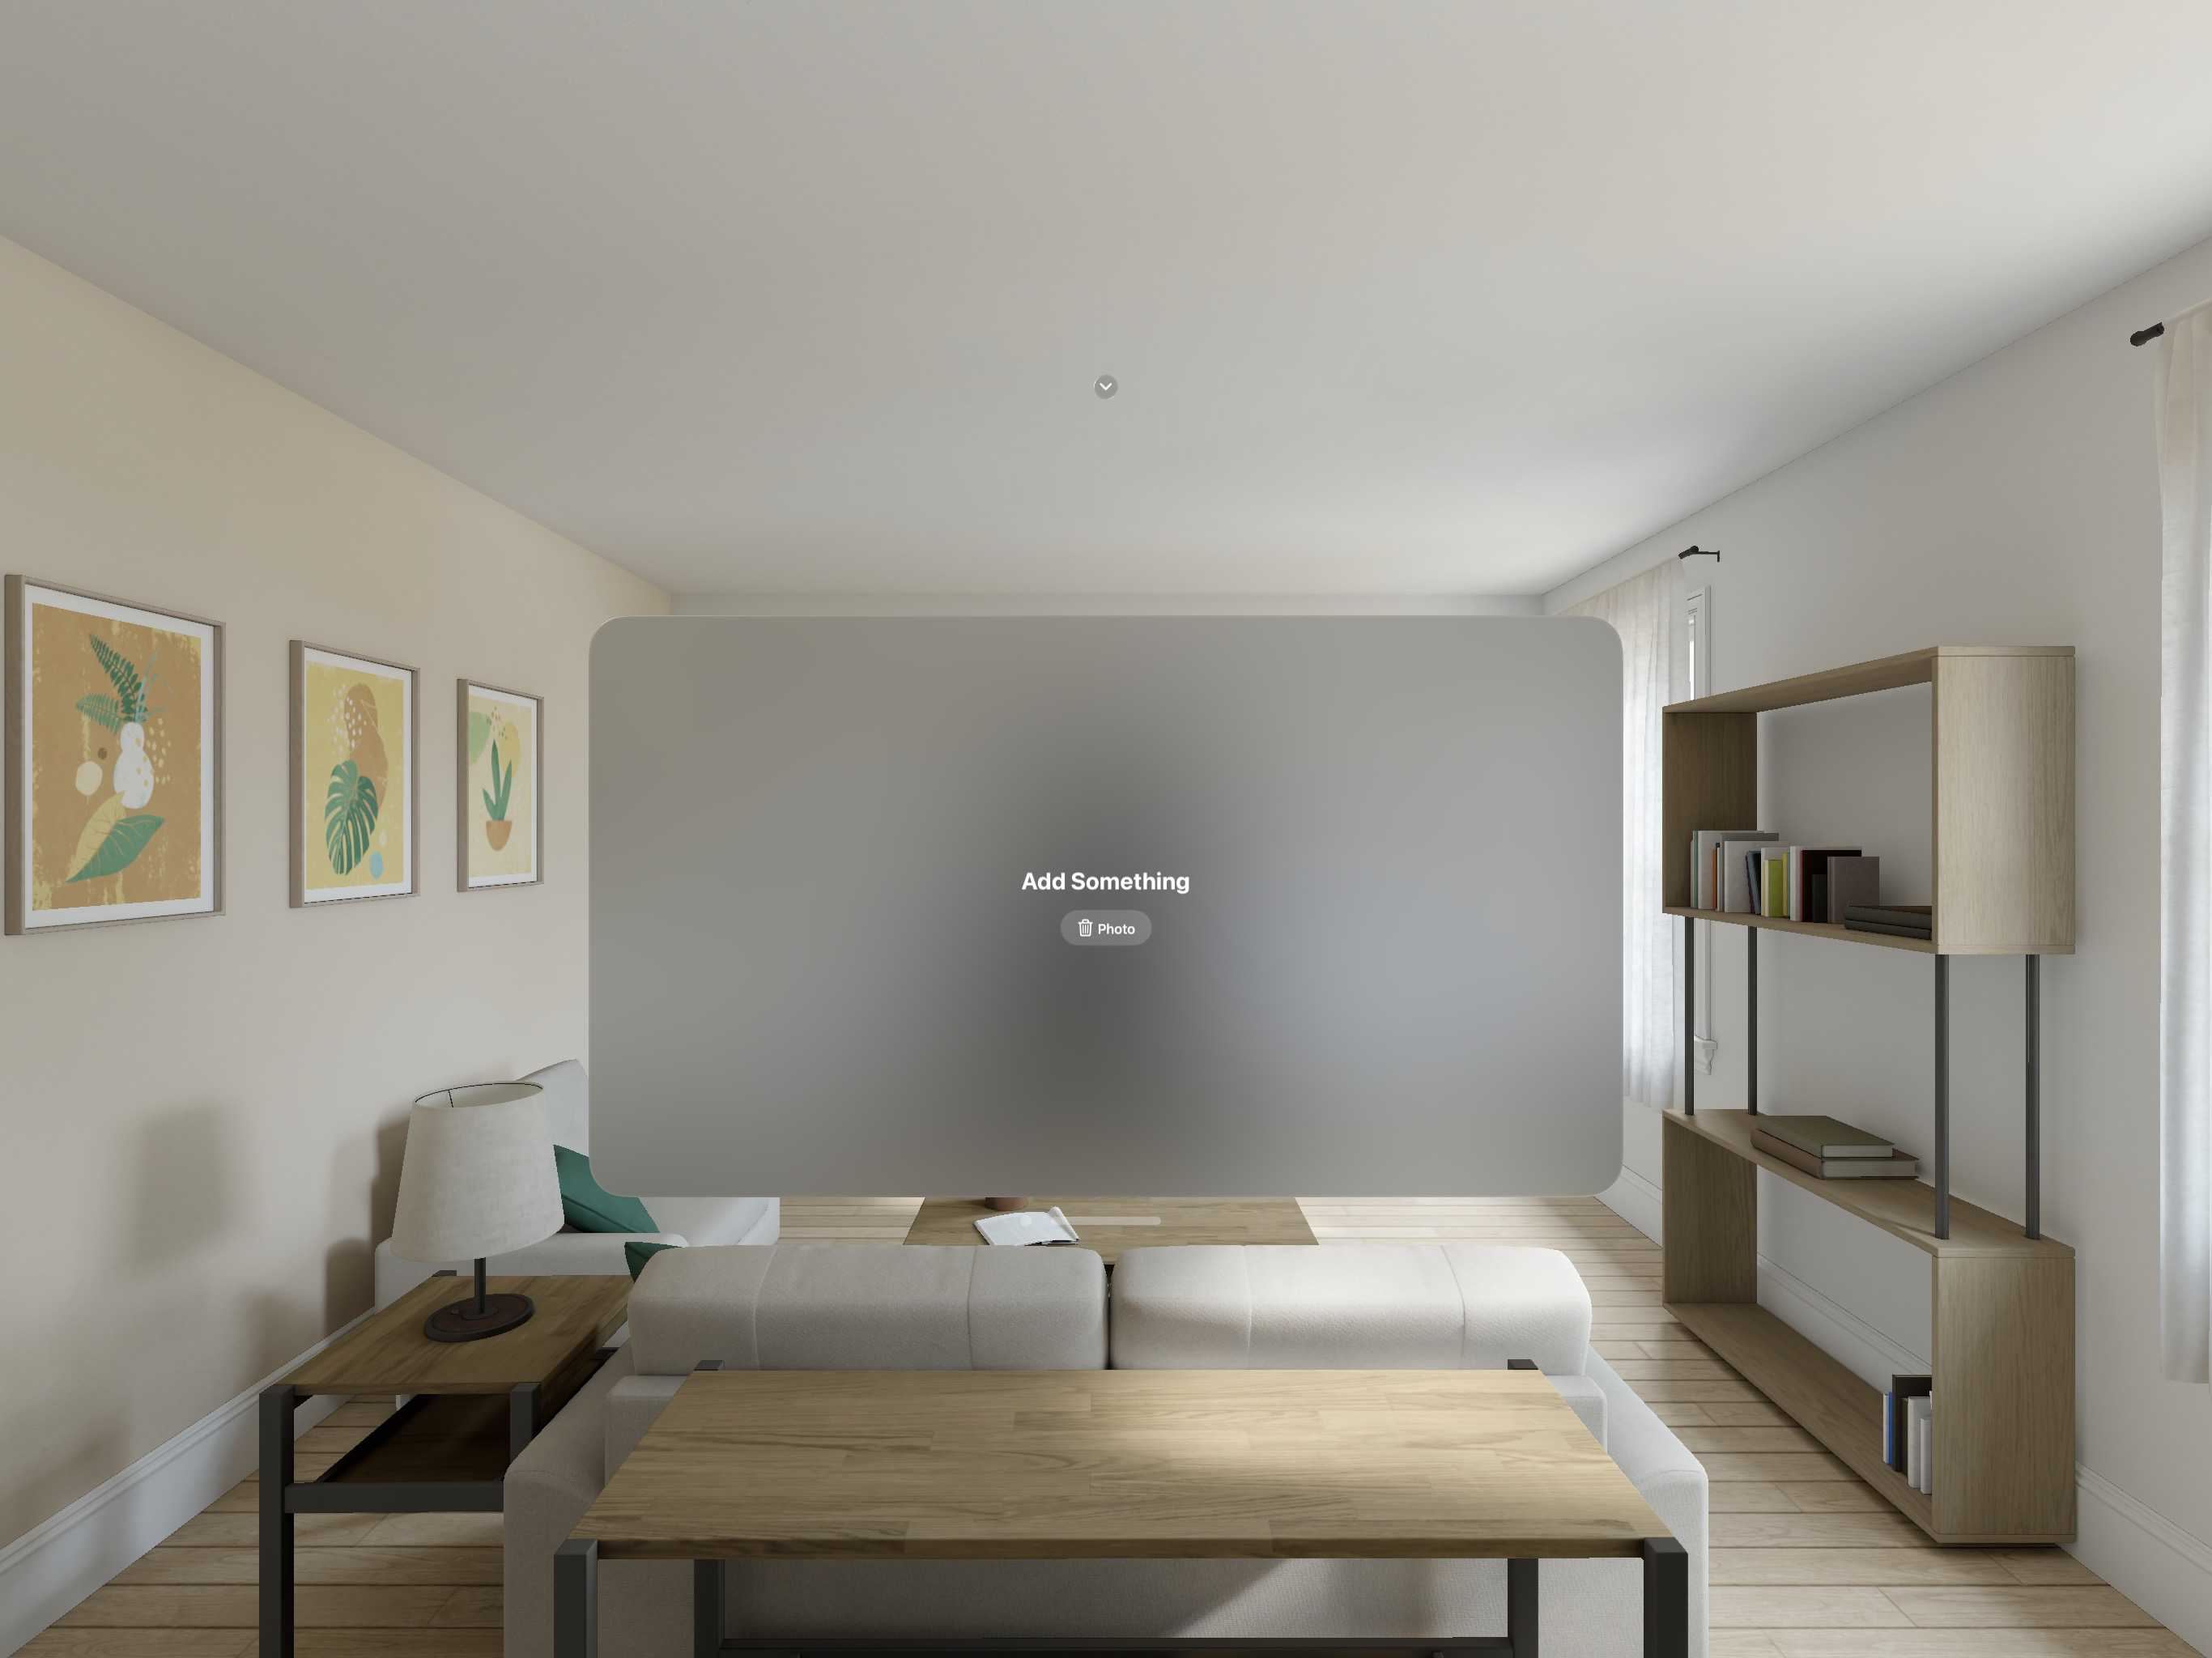
Well, that's something – mostly ugly
The absolute bare minimum is in place. To make it look slightly less awful, let's throw the view into a NavigationStack.
struct ContentView: View {
    var body: some View {
        NavigationStack {
            VStack {
                Button {

                } label: {
                    Label("Photo", systemImage: "trash")
                }
            }
            .transition(.opacity)
            .navigationTitle("Add Something")
        }
    }
}

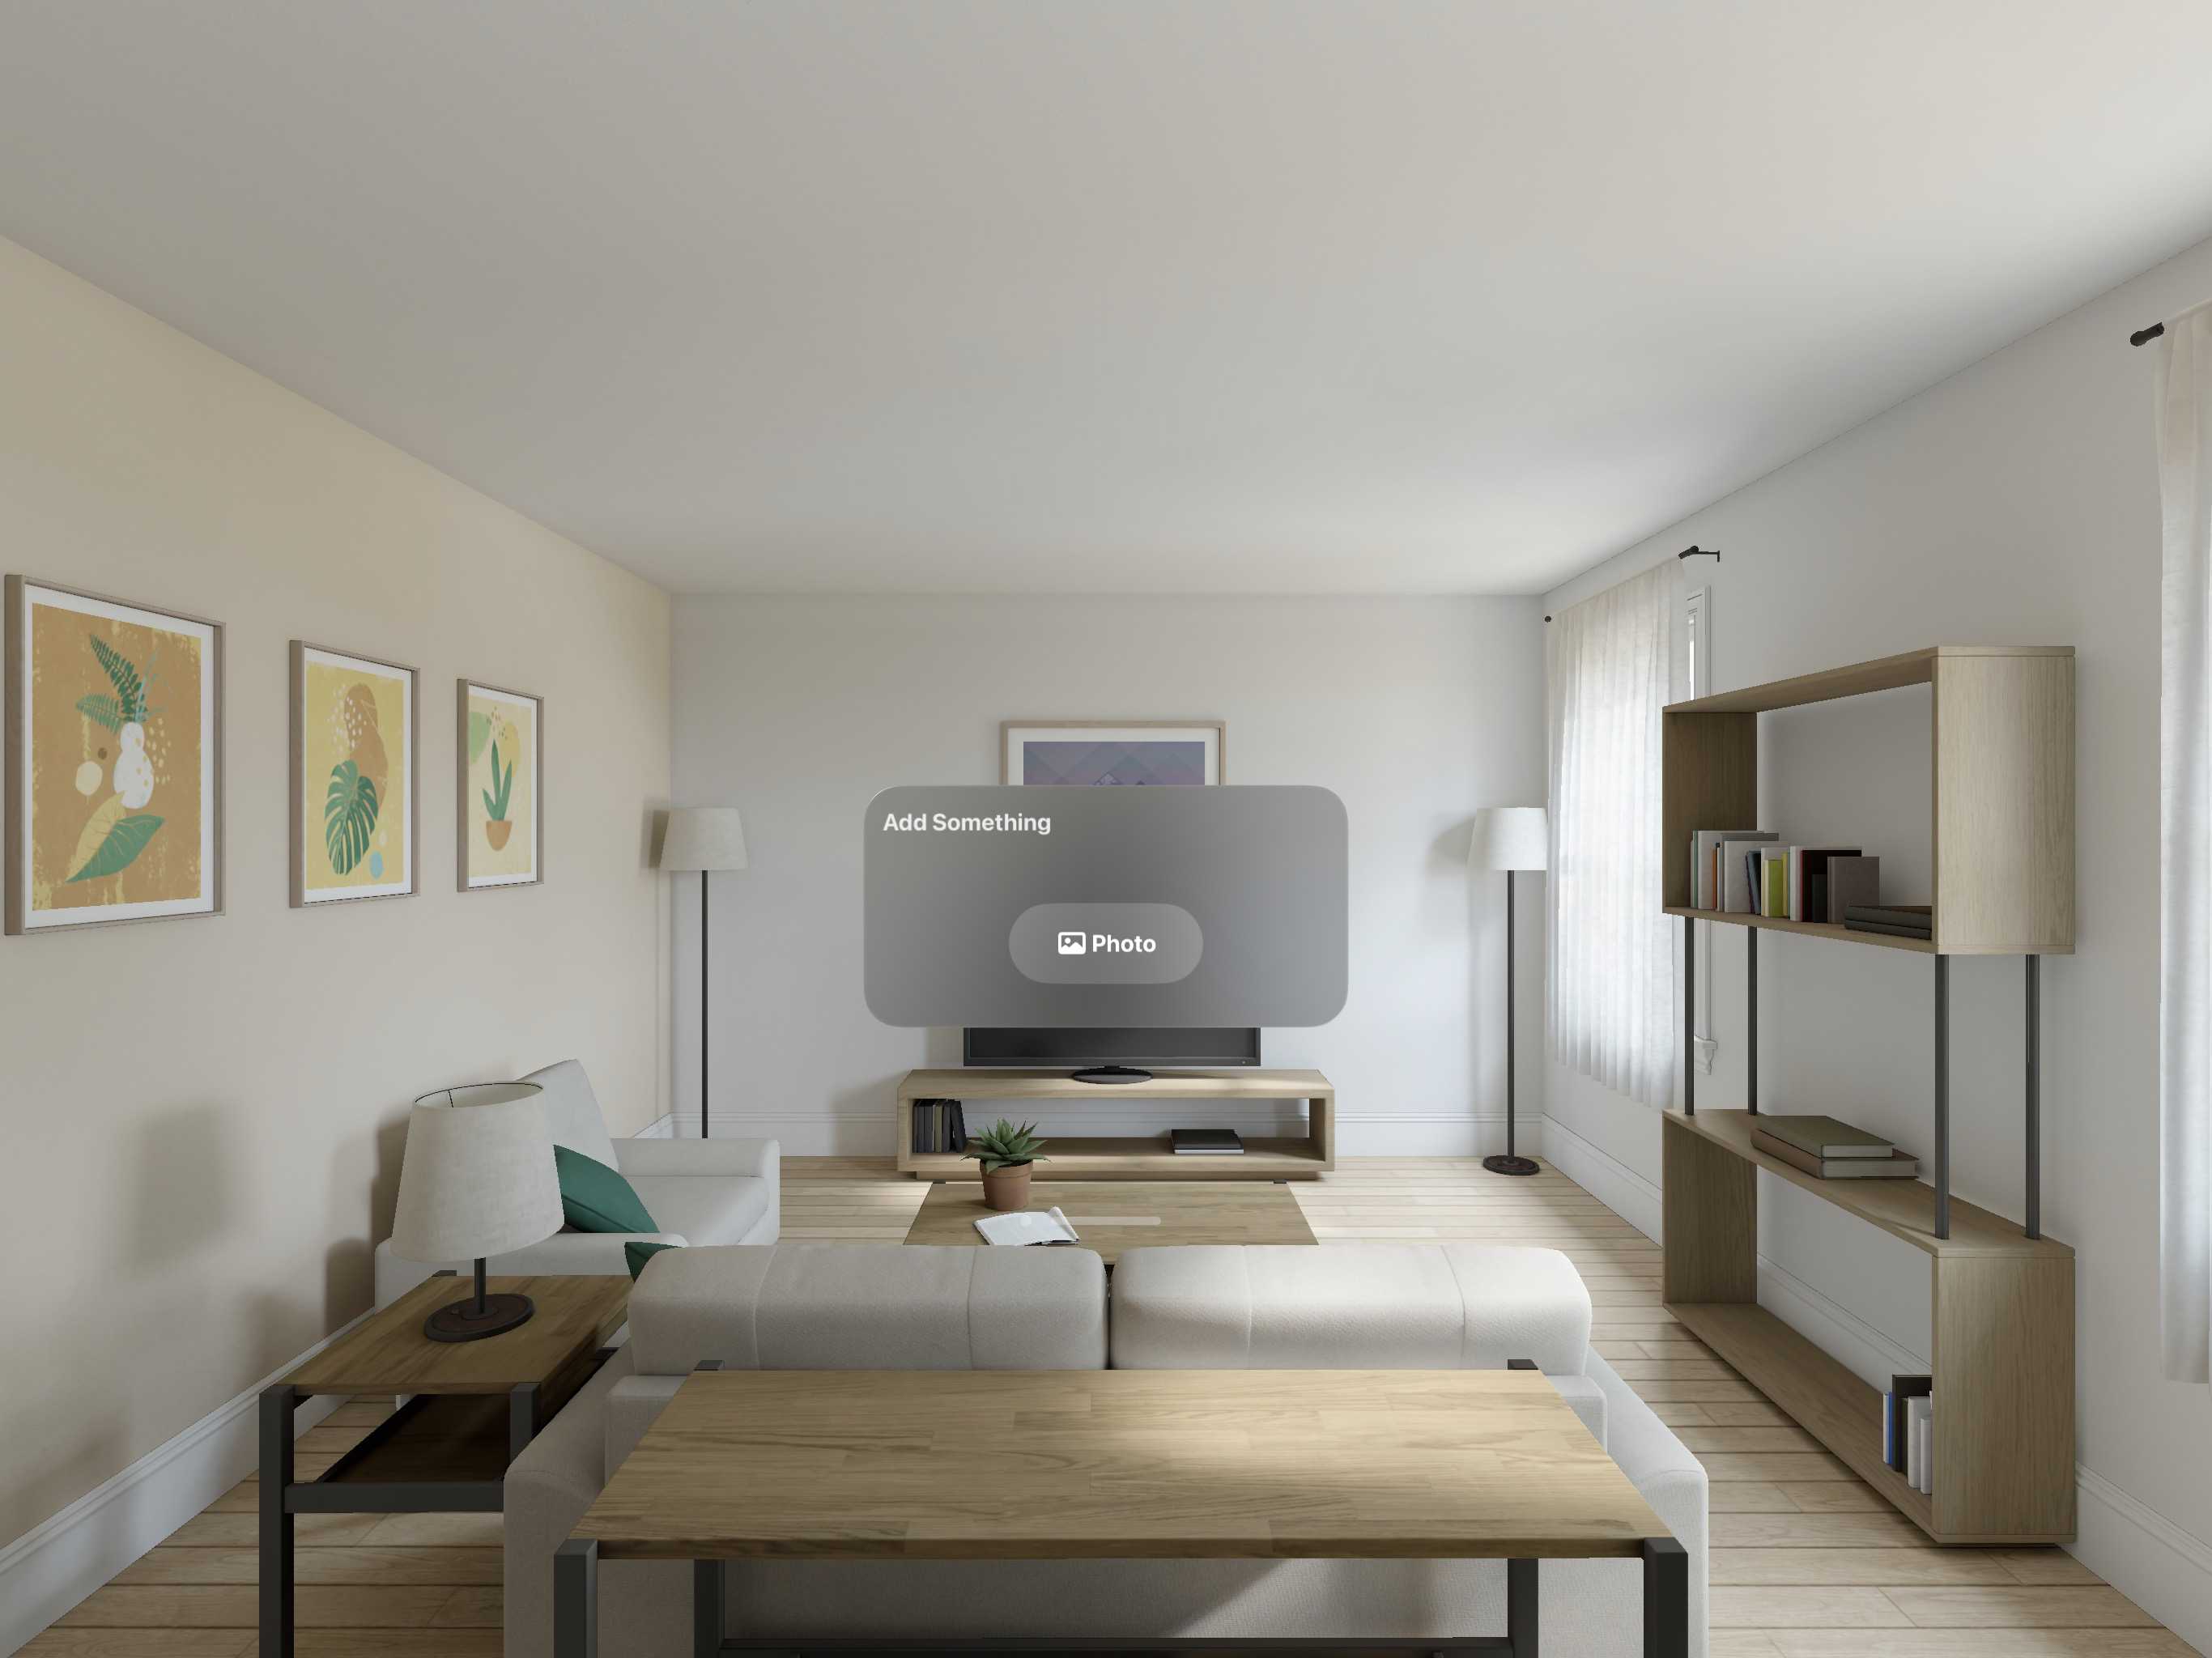
NavigationStack helps add a bit of order
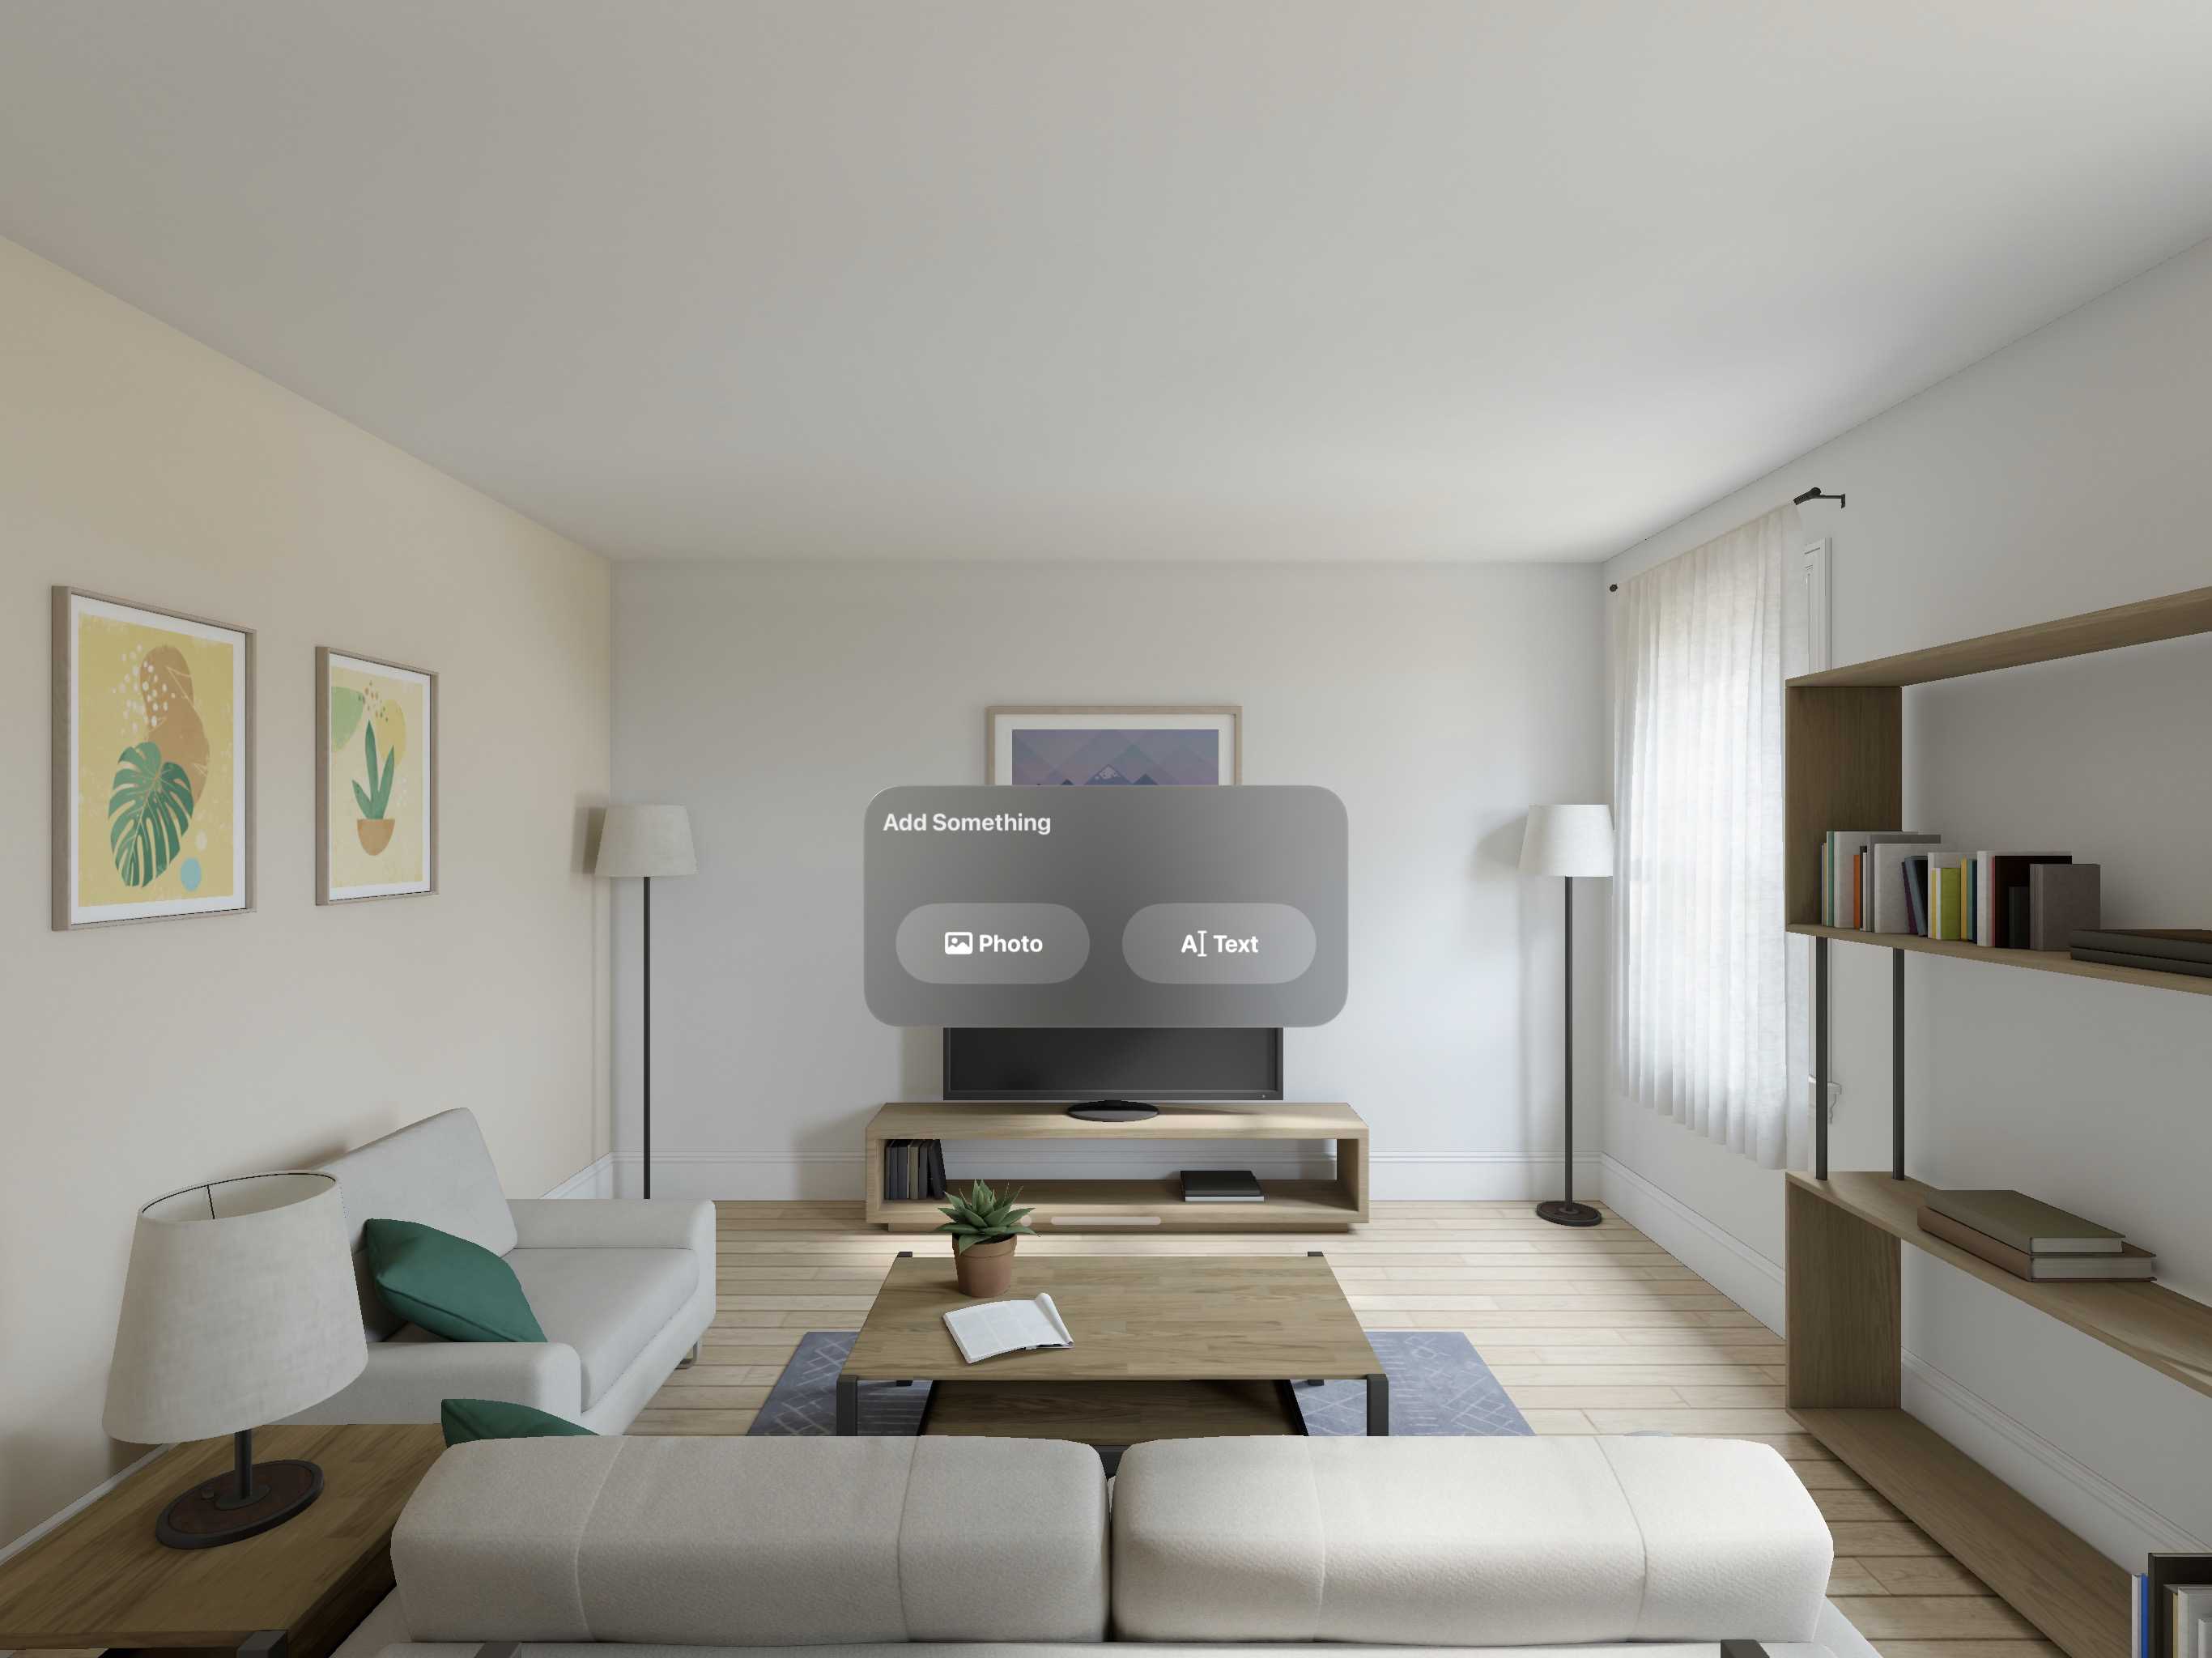
There's tons of unused, unneeded space in the view. Let's try and bring that under control using a .frame. As we move out of initial trash territory let's also change the button label systemImage and give the button a .frame as well.
struct ContentView: View {
    var body: some View {
        NavigationStack {
            HStack {
                Button {

                } label: {
                    Label("Photo", systemImage: "photo")
                        .font(.largeTitle)
                        .frame(width: 200,
                               height: 100)
                }
            }
            .transition(.opacity)
            .navigationTitle("Add Something")
        }
        .frame(width: 600,
               height: 300)
    }
}
Frames help keep the sizing under control
Nice. Let's add some placeholder navigation pathing.
struct ContentView: View {
    @State private var path = NavigationPath()

    var body: some View {
        NavigationStack(path: $path) {
            HStack {
                Button {
                    path.append("ok")
                } label: {
                    Label("Photo", systemImage: "photo")
                        .font(.largeTitle)
                        .frame(width: 200,
                               height: 100)
                }
            }
            .transition(.opacity)
            .navigationTitle("Add Something")
            .navigationDestination(for: String.self) { path in
                if path == "ok" {
                    Text("Nice")
                }
            }
        }
        .frame(width: 600,
               height: 300)
    }
}
Nice
The iOS version of Float lets users add floating photos, videos, and text to their surroundings. Let's add another placeholder button for adding text.
struct ContentView: View {
    @State private var path = NavigationPath()

    var body: some View {
        NavigationStack(path: $path) {
            HStack(spacing: 40) {
                Button {
                    path.append("photo")
                } label: {
                    Label("Photo", systemImage: "photo")
                        .font(.largeTitle)
                        .frame(width: 200,
                               height: 100)
                }

                Button {
                    path.append("text")
                } label: {
                    Label("Text", systemImage: "character.cursor.ibeam")
                        .font(.largeTitle)
                        .frame(width: 200,
                               height: 100)
                }
            }
            .navigationTitle("Add Something")
            .navigationDestination(for: String.self) { path in
                if path == "photo" {
                    Text("Add photos here")
                } else if path == "text" {
                    Text("Add text here")
                }
            }
        }
        .frame(width: 600,
               height: 300)
    }
}
Placeholders everywhere, but you have to start somewhere
Right around here is where I encountered one of the first, of what I assume will be countless, mismatches between what I expected to happen and what actually happens in Xcode, in Xcode Previews, or in the app itself. The above image was taken in the visionOS simulator and it generally looks how I expect given the dearth of code behind it. However, an excellent feature of Xcode and SwiftUI I've grown to love is Xcode Previews. These Previews live in an Xcode window, right next to your code, and let you view how your code is changing the end-result app in (effectively) real time. So if you want to see how changing the size of some text affects your app layout, you change a single line of code and then look in the Preview window to view the result.
This is excellent when it works how I expect. Sometimes I write bad code that causes Previews to crash or display incorrectly – where the Preview doesn't represent what will actually be drawn on-device. Other times there are hiccups in getting Previews running smoothly, and sometimes there are bugs in Xcode that cause problems.
I'm unsure which case I encountered in visionOS 1.0 beta 4. But I noticed when adding a .frame to keep the window size under control, the same code produced different results in the simulator versus the Xcode Preview. The Preview version with unwanted extra padding can be seen here:
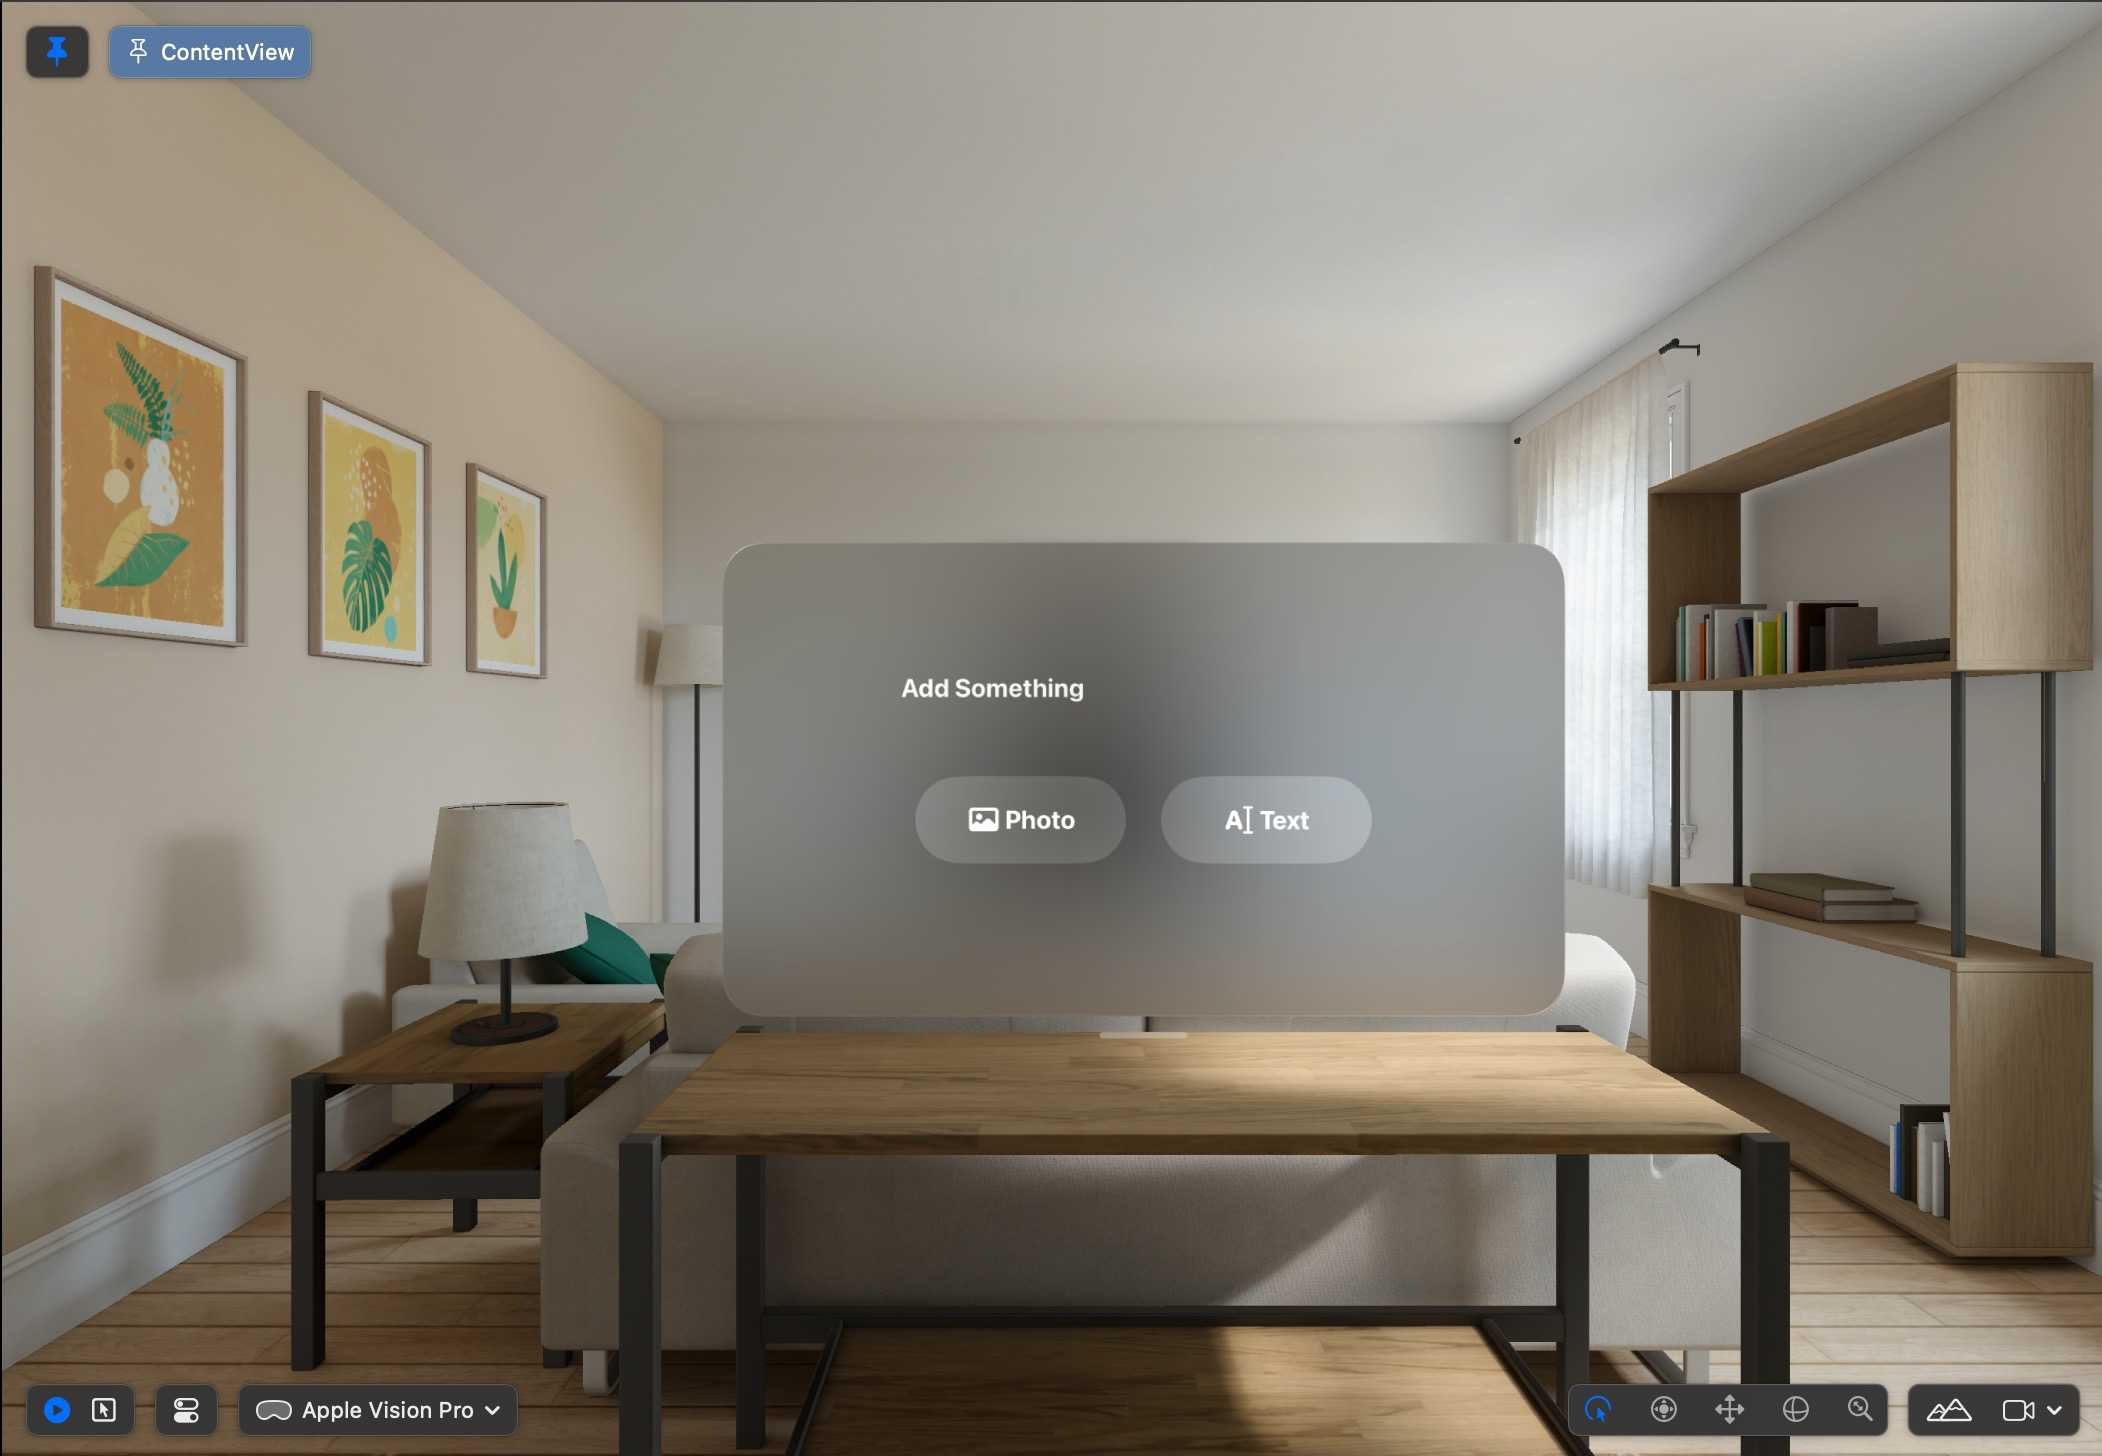
This Previews version of the app is markedly different from the simulator version of the app
Is the problem in my code? Probably. The problem is likely related to my Preview code for ContentView not incoporating modifiers present in the FloatApp file, which places ContentView in a WindowGroup. But for the time being, I'll need to remind myself to take the extra few seconds to build to the simulator more often instead of relying on Xcode Previews.
The navigation title and text button icon don't really fit, so let's make extremely minor and quick changes so I can feel like I'm making progress again.
struct ContentView: View {
    var body: some View {
        NavigationStack(path: $path) {
            HStack(spacing: 40) {
                Button {
                    path.append("photo")
                } label: {
                    Label("Photo", systemImage: "photo")
                        .font(.largeTitle)
                        .frame(width: 200,
                               height: 100)
                }

                Button {
                    path.append("text")
                } label: {
                    Label("Text", systemImage: "text.justify.left")
                        .font(.largeTitle)
                        .frame(width: 200,
                               height: 100)
                }
            }
            .navigationTitle("Personalize Your Space")
            .navigationDestination(for: String.self) { path in
                if path == "photo" {
                    Text("Add photos here")
                } else if path == "text" {
                    Text("Add text here")
                }
            }
        }
        .frame(width: 600,
               height: 300)
    }
}

Those make more sense
One particularly annoying issue took me a while to actually notice. Because I changed the default window size using .frame above, the handle to move around the window is much lower than it should be. In the images above the handle is just hanging around in a no-man's-land, blending into the simulator scene's TV console or coffee table. Let's jump up to the FloatApp file and fix this issue there by adding .windowResizability(.contentSize).
import SwiftUI

@main
struct FloatApp: App {
    var body: some Scene {
        WindowGroup {
            ContentView()
        }
        .windowResizability(.contentSize)
    }
}

The handle is now floating closer to the window, where expected
Great. Now let's add SwiftUI's newish PhotoPicker. Similar to all other notable permissions: I needed to add a request description to the info.plist to explain why the app is accessing the user's photos (the key here is NSPhotoLibraryUsageDescription).
import PhotosUI

struct ContentView: View {
    @State private var imageItem: PhotosPickerItem?
    @State private var path = NavigationPath()

    var body: some View {
        NavigationStack(path: $path) {
            HStack(spacing: 40) {
                PhotosPicker(selection: $imageItem,
                             matching: .images)
                {
                    Label("Photo", systemImage: "photo")
                        .font(.largeTitle)
                        .frame(width: 200,
                               height: 100)
                }

                Button {
                    path.append("text")
                } label: {
                    Label("Text", systemImage: "text.justify.left")
                        .font(.largeTitle)
                        .frame(width: 200,
                               height: 100)
                }
            }
            .navigationTitle("Personalize Your Space")
            .navigationDestination(for: String.self) { path in
                if path == "text" {
                    Text("Add text here")
                }
            }
        }
        .frame(width: 600,
               height: 300)
        .onChange(of: imageItem) { _, _ in
            Task {
                if let data = try? await imageItem?.loadTransferable(type: Data.self) {
                    if let uiImage = UIImage(data: data) {

                        return
                    }
                }

                print("Failed")
            }
        }
    }
}
The PhotoPicker is in place, but nothing happens once a picture is selected
We're getting close. We need a couple more things to achieve the first, extremely limited version of Float. First I need to enable multiple windows in info.plist.

This is a setting that's new-to-me
Since we're opening up multiple windows, we will need some state to pass between views, a separate WindowGroup, and some @Environment actions.
@Observable
public class AppState {
    var image: UIImage?
}
@main
struct FloatApp: App {
    @State private var appState = AppState()

    var body: some Scene {
        WindowGroup {
            ContentView()
                .environment(appState)
        }
        .windowResizability(.contentSize)

        WindowGroup(id: "placedImage") {
            if let image = appState.image {
                Image(uiImage: image)
                    .resizable()
                    .scaledToFit()
                    .environment(appState)
                    .frame(width: 600,
                           height: 450)
            }
        }
        .windowResizability(.contentSize)
    }
}
struct ContentView: View {
    @Environment(AppState.self) private var appState
    @Environment(\.openWindow) private var openWindow
    @Environment(\.dismissWindow) private var dismissWindow

    @State private var imageItem: PhotosPickerItem?
    @State private var path = NavigationPath()

    var body: some View {
        @Bindable var appState = appState

        NavigationStack(path: $path) {
            HStack(spacing: 40) {
                PhotosPicker(selection: $imageItem,
                             matching: .images)
                {
                    Label("Photo", systemImage: "photo")
                        .font(.largeTitle)
                        .frame(width: 200,
                               height: 100)
                }

                Button {
                    path.append("text")
                } label: {
                    Label("Text", systemImage: "text.justify.left")
                        .font(.largeTitle)
                        .frame(width: 200,
                               height: 100)
                }
            }
            .navigationTitle("Personalize Your Space")
            .navigationDestination(for: String.self) { path in
                if path == "text" {
                    Text("Add text here")
                }
            }
        }
        .frame(width: 600,
               height: 300)
        .onChange(of: imageItem) { _, _ in
            Task {
                if let data = try? await imageItem?.loadTransferable(type: Data.self) {
                    if let uiImage = UIImage(data: data) {
                        appState.image = uiImage
                        openWindow(id: "placedImage")

                        return
                    }
                }

                print("Failed")
            }
        }
    }
}
Beautiful!
It may not look like much and the visionOS version of Float does not yet use ARKit like the original, 2017, iOS version of Float – but the visionOS app now floats photos in space.
And with that we are on our way!